Description
Scratch Groundbreaking Nail Wraps Nail Art
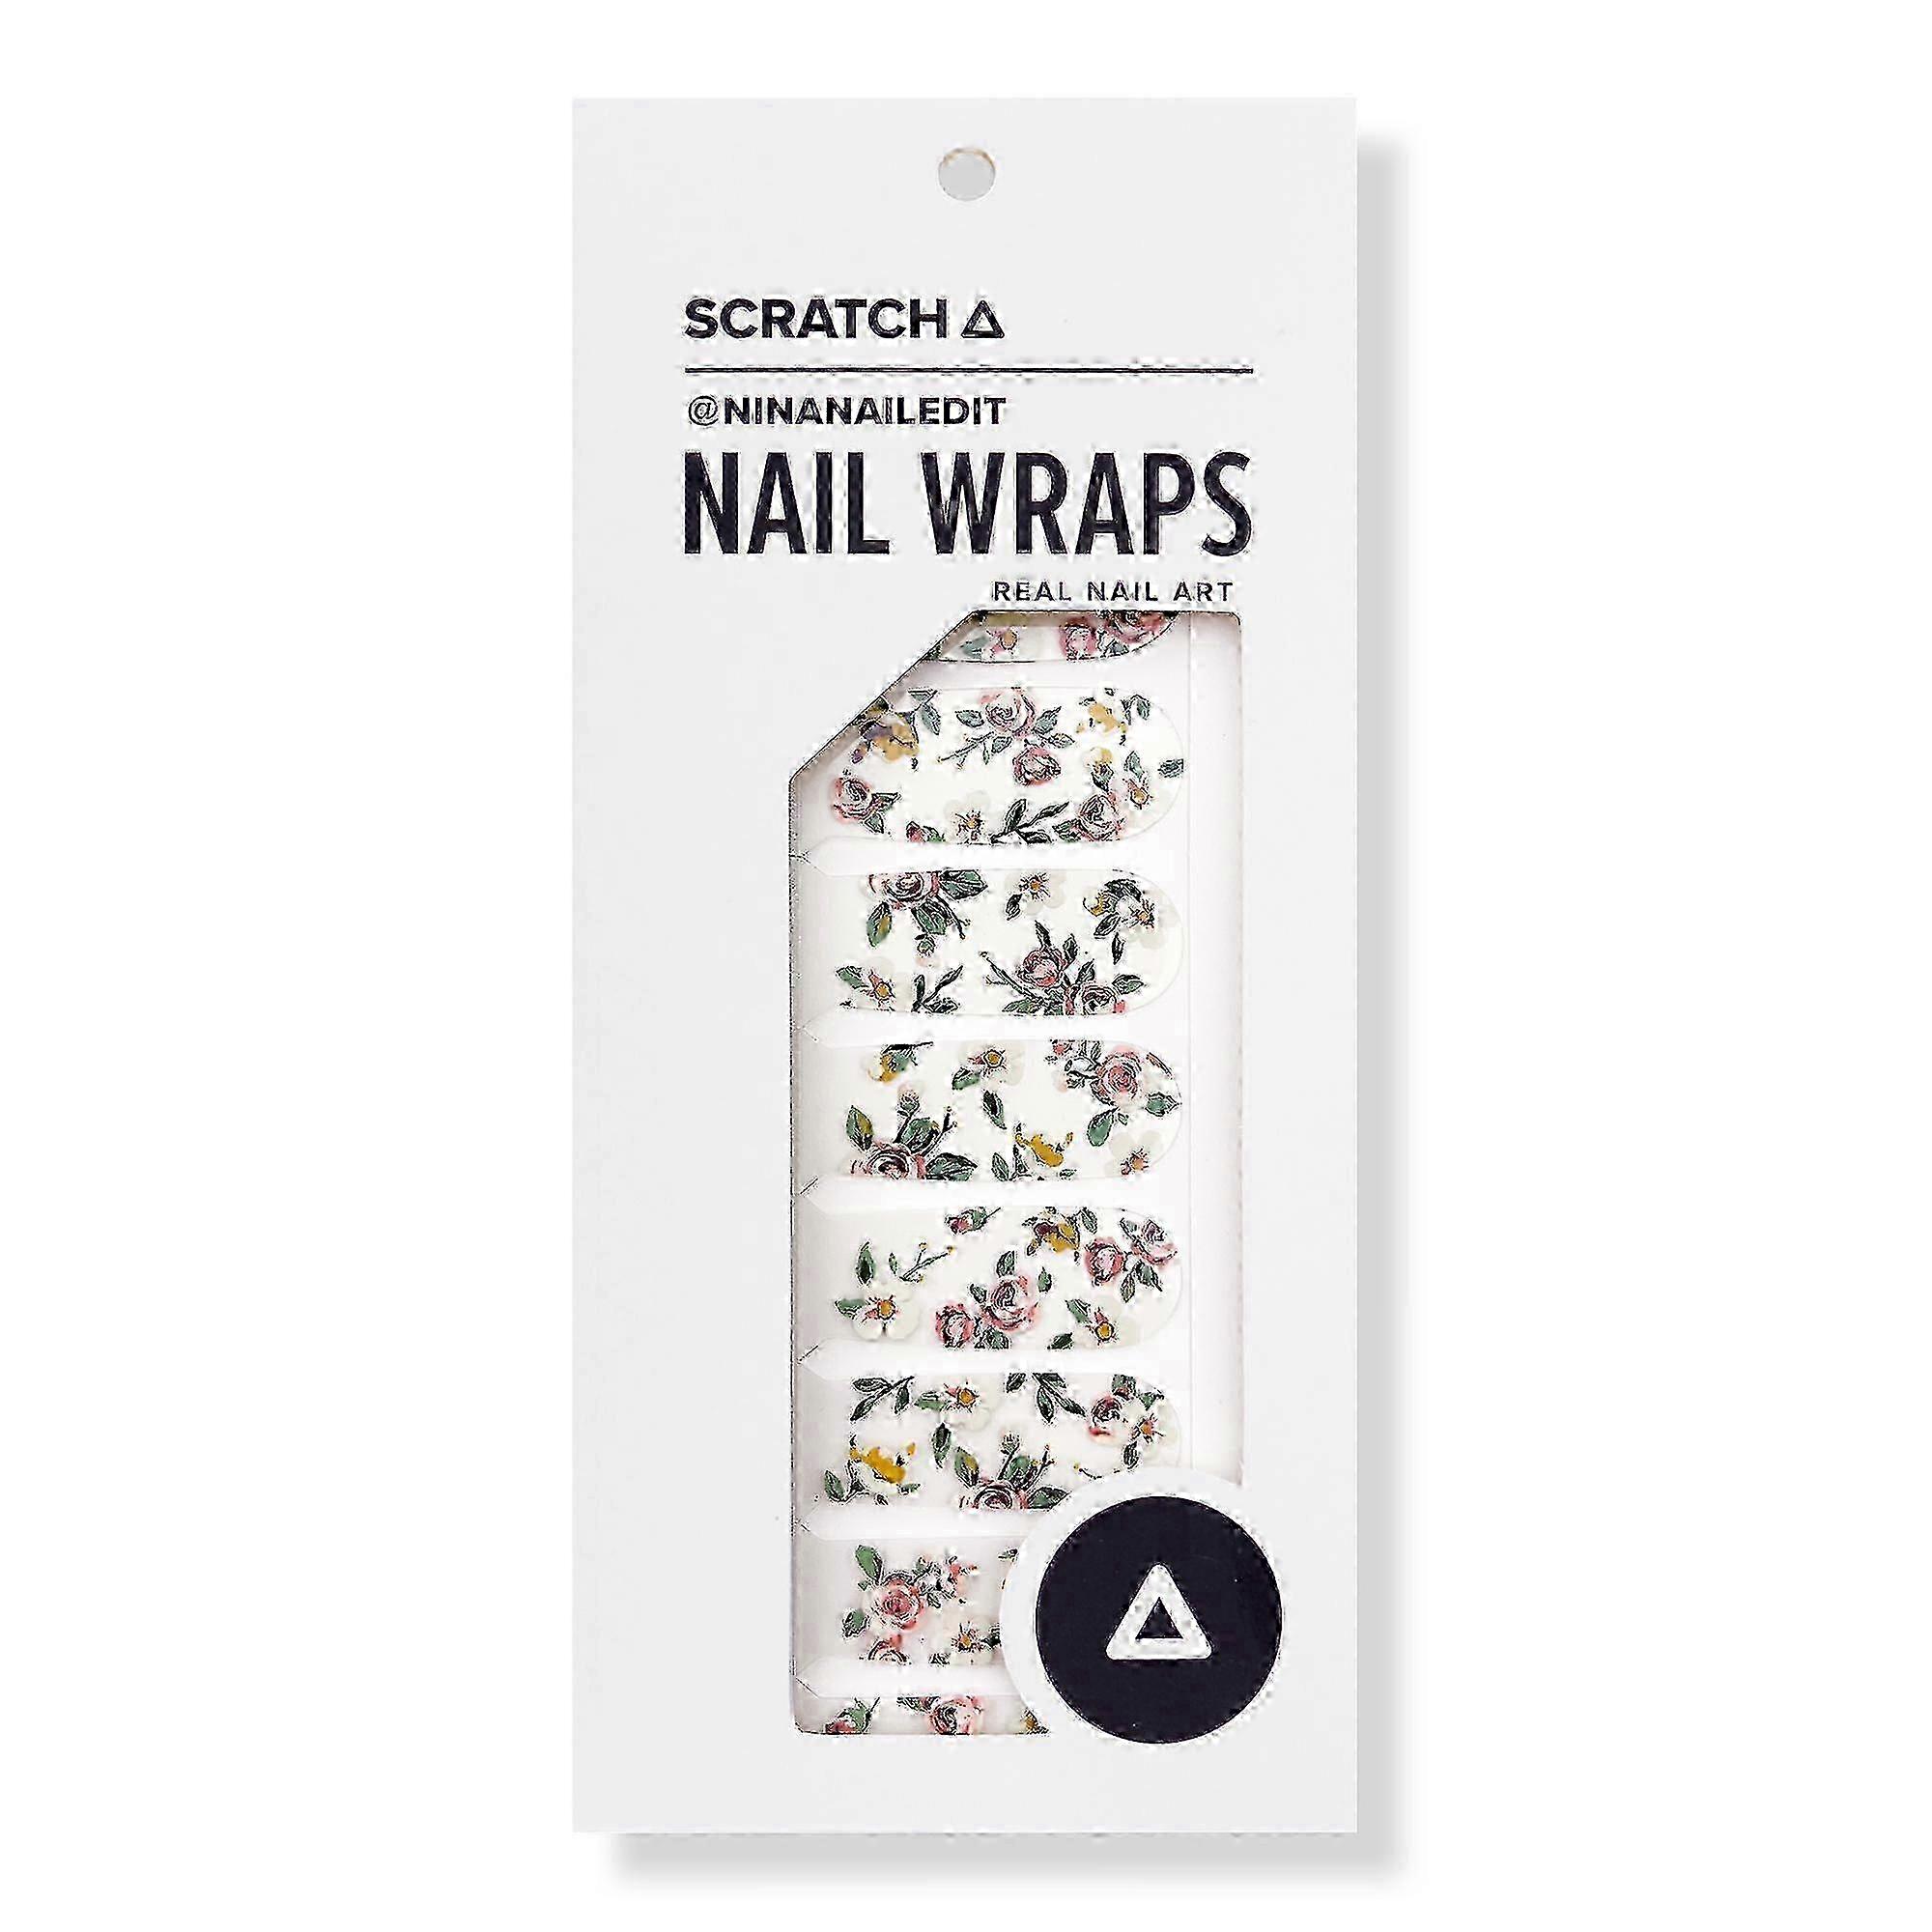
If you've ever wanted to wear a classic floral print on your nails, look no further. Scratch's Groundbreaking nail wraps feature a gorgeous vintage floral print in muted, romantic tones that are easy to wear. Wear this transparent set as an accent nail, on its own, or over your favorite polish.
Benefits
Application in minutesEasy removal with acetoneNo UV exposure or heat requiredCan be used with natural nails, nail polish, gels, or artificial nailsGentle on your nails
SCRATCH nail wraps do not use harsh adhesivesReal nail art designed by @ninanailedit
Features
SCRATCH is a woman-owned and operated small business based in Boston, MAThe super-thin nail wraps are printed with 5-free nail polish inks on a uniquely thin adhesive for an individual fitApply the nail wraps, then top with one layer of your favorite non-quick dry top coat and let it setDesigned by @ninanailedit, SCRATCH Nail Wraps are all about real nail art in minutes
Since these nail wraps are formulated with real nail polish, you can remove them simply with nail polish remover. Win, win
Each package includes 16 nail wraps (8 sizes), one cuticle pusher, a mini nail file + buffer
Formulated Without
CamphorDibutyl PhthalateFormaldehydeFormaldehyde ResinToluene
Suggested Use:
It is so important to clean your hands and nails thoroughly before doing your nails
Scratch recommends cleaning the nails with rubbing alcohol and applying nail prep (a pH balancing agent) after washing your hands and drying them thoroughly. Once that's done, you're ready to apply some nail wraps
See the directions for nail wrap use with polish, gels, and acrylic/dip below. Regular Polish - Prep: Apply a very thin base coat or color and let it dry completely - or you can always put the wraps directly onto your nails as well
- Application: See application steps 1-5 below. - Finish: Once the nail wraps are dry, finish with a non-quick dry top coat, making sure to encapsulate the wrap on all sides and cap the tip. Let the first layer of top coat dry fully (nail polish can take several hours to completely set depending on application) before adding more - otherwise, the first layer will not dry completely, resulting in the nail wrap coming off easily. Soft/Hard Gels: - Prep: Apply base coat and cure according to the system's directions and clean off the inhibition layer. - Application: See application steps 1-5 below. - Finish: Once the nail wraps are dry, finish with a gel top coat making sure to encapsulate the wrap on all sides and cap the tip. Cure according to the gel system's directions. Acrylic/Dip: - Prep: Apply the base layer according to the system's directions. File and buff to create a smooth surface Ensure there is no residue or dust and the nail has been thoroughly cleaned. - Application: See application steps 1-5 below - Finish: Seal the nail wrap with gel, clear acrylic, or clear dip top coat making sure to encapsulate the wrap and cap the tip according to your system's directions. Application Steps 1-5. 1. Select the best nail wrap size. Peel the thin plastic from the nail wrap, then peel the nail wrap from the harder plastic backing. 2. Place the nail wrap on the nail and make sure it is not on the skin or the cuticle, flatten the nail wrap down by pressing on all sides. 3. Fold the excess nail wrap over the edge of the nail and file gently in short, light downward strokes. 4.
-
Fruugo ID:
149824357-316350885
Delivery & Returns
Dispatched within 3 days
Shipping from United States.
We do our best to ensure that the products that you order are delivered to you in full and according to your specifications. However, should you receive an incomplete order, or items different from the ones you ordered, or there is some other reason why you are not satisfied with the order, you may return the order, or any products included in the order, and receive a full refund for the items. View full return policy